Article: How to Attach Clip-In Hair Extensions
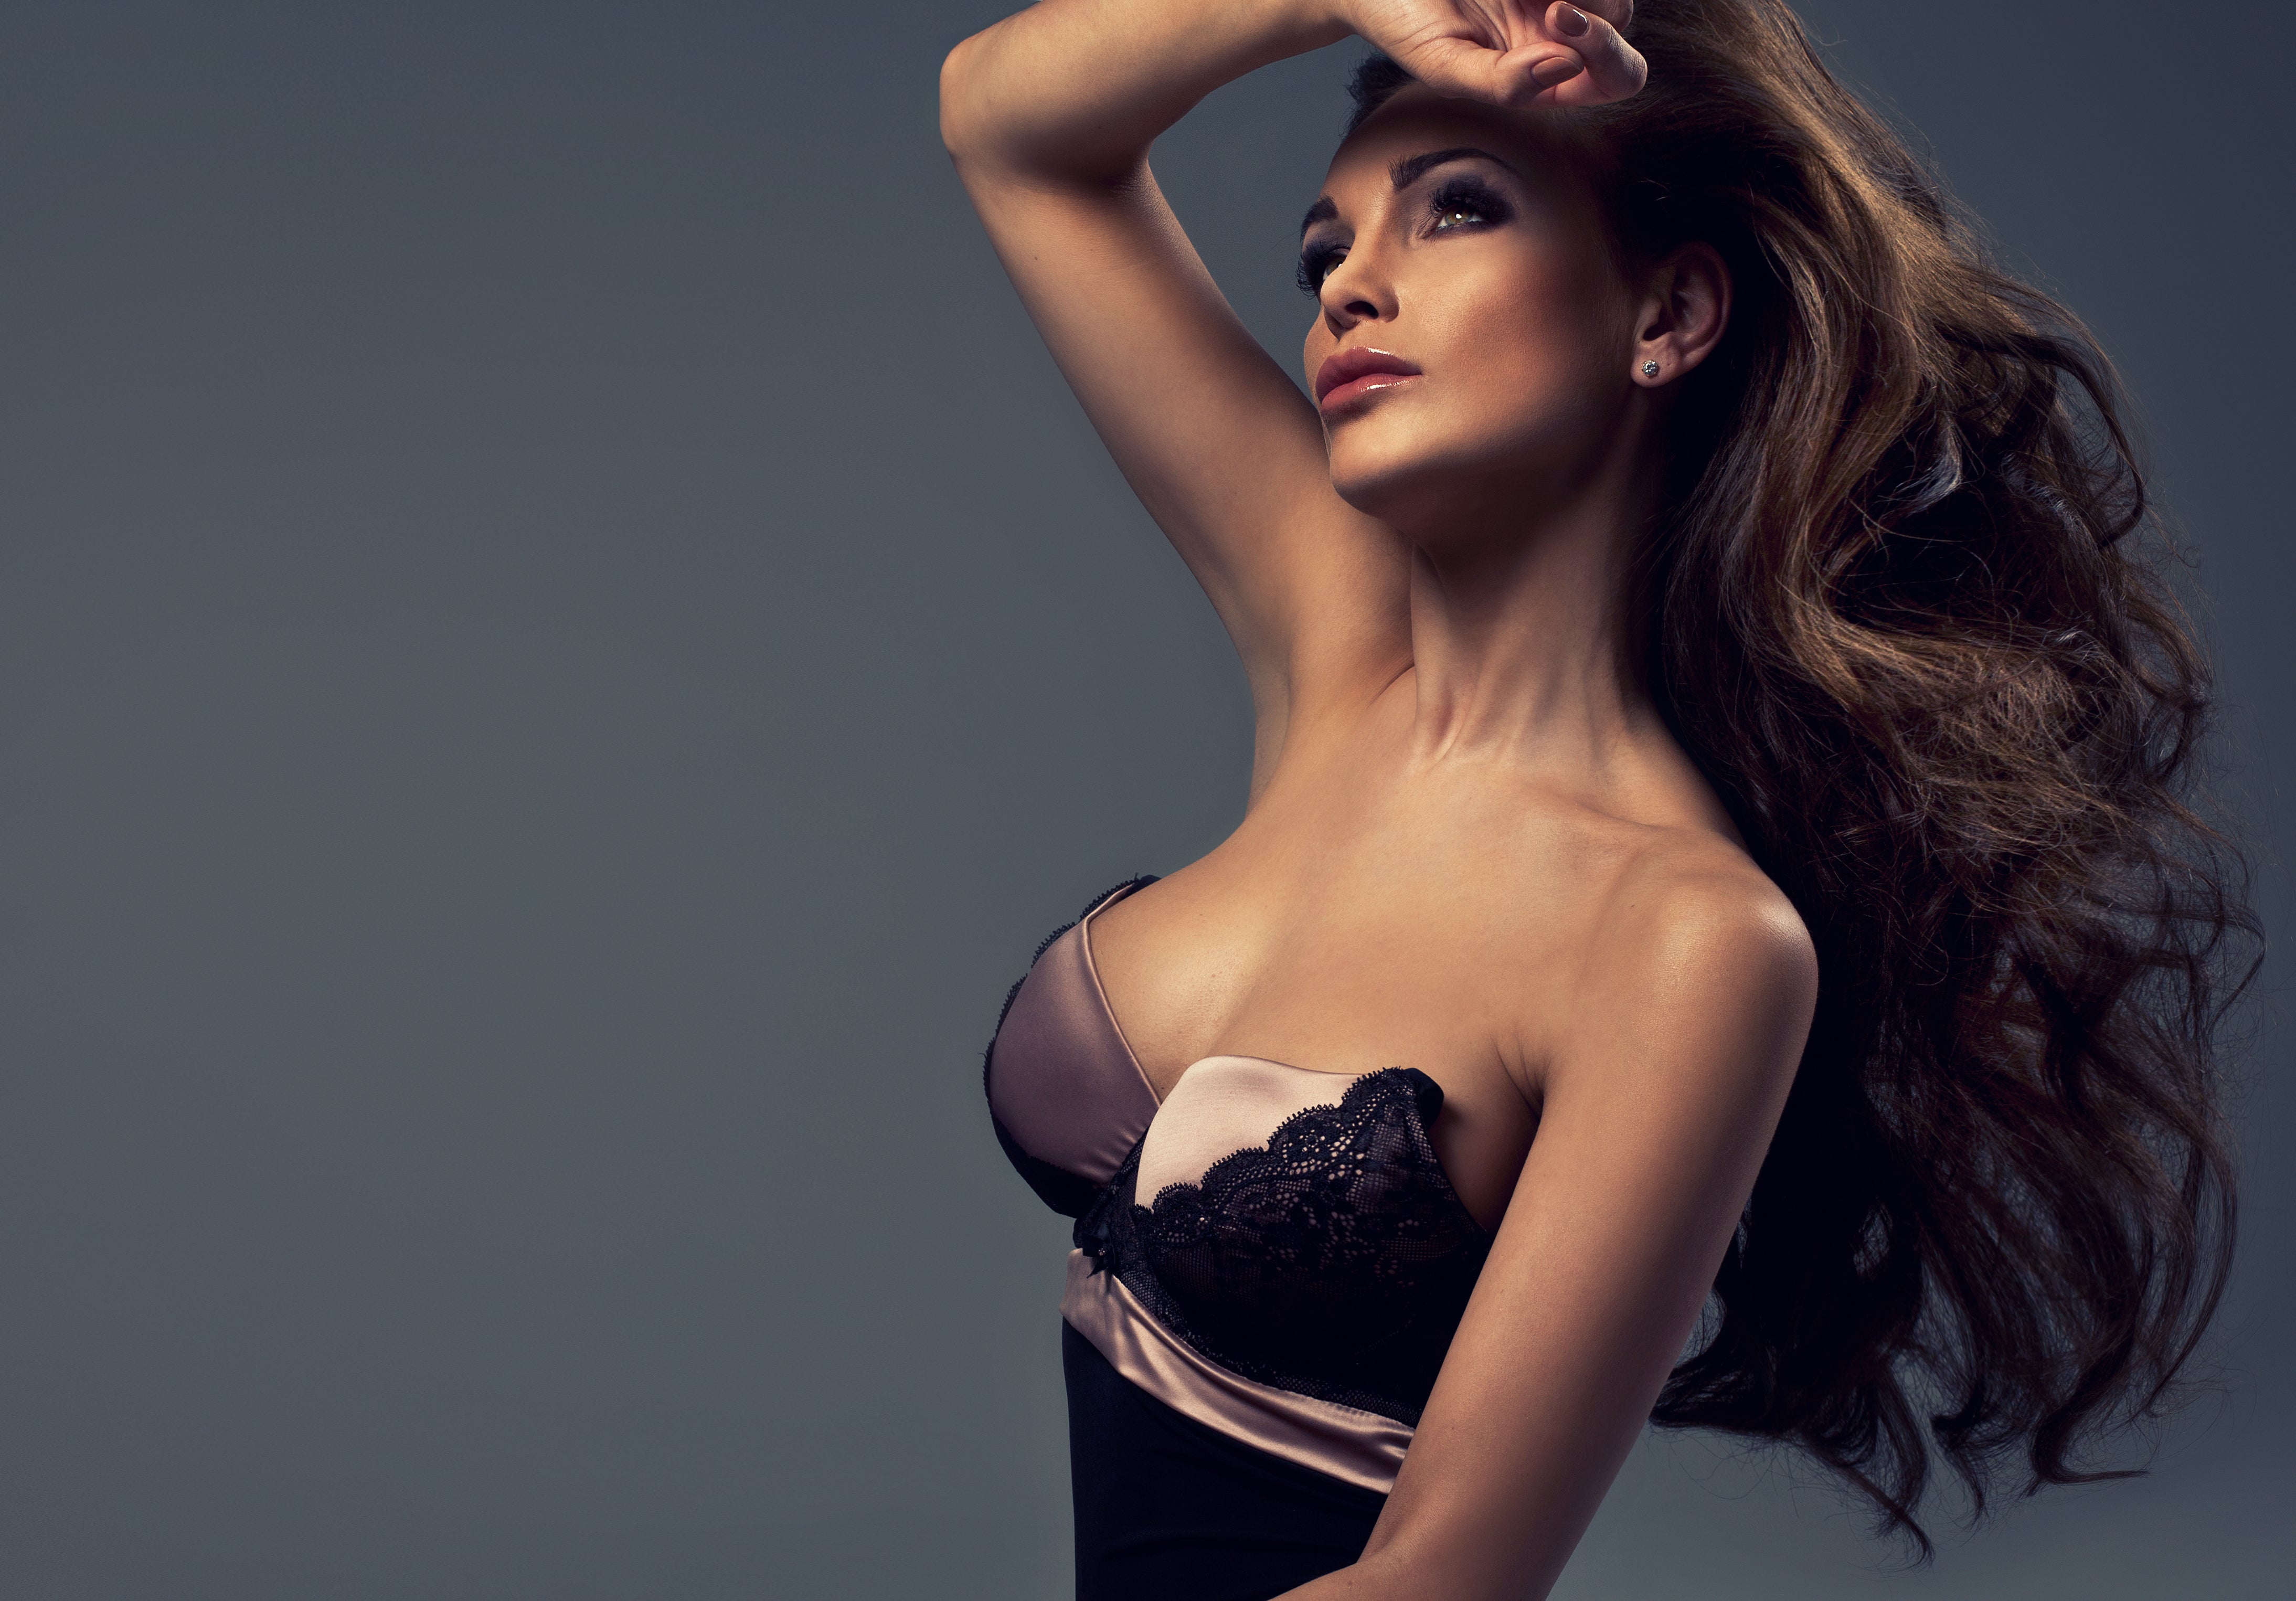
How to Attach Clip-In Hair Extensions
You might have already purchased your clip-in hair extensions from Maneology Hair Extensions and are wondering how to attach them correctly. Don't worry, we've got your back! We've put together a comprehensive guide with detailed instructions on how to attach your Maneology clip-in hair extensions.
It's normal for anyone that are new to hair extensions or has used them before, to feel a bit overwhelmed about the process. However, by following our guide you'll discover how simple it is to style your hair without causing any damage to your natural hair.
This guide is particularly useful if it's your first time using clip-in hair extensions. It will help you understand how to properly place each weft and style the extensions so they blend seamlessly with your natural hair, we'll walk you through everything you need to know about selecting, applying, and caring for your clip-in hair extensions. So, let’s start
What are Clip-In Hair Extensions?
Clip-in hair extensions are popular and an easy way to instantly transform your hair's length and achieve your hairstyle goals without any long-term commitment. These clip-in hair extensions consist of wefts of hair, each with small clips attached along the top. To apply them, you simply part your natural hair, clip in the extensions, and blend them with your own hair. We'll tackle the detailed instructions on how to attach clip-in hair extensions later on.
Clip-in extensions come in various lengths, colors, and textures, allowing you to achieve a customized look. They are typically made from real human hair or high-quality synthetic materials, ensuring a natural appearance.
What's the difference between Clip-In Hair Extensions to other hair extensions?
One key difference between clip-in hair extensions and other types of extensions, such as tape-ins, sew-ins, or fusion extensions, lies in their application method. Clip-ins are temporary and non-damaging, as they can be easily attached and removed by the wearer, making them an excellent choice for those who want to experiment with different looks or avoid long-term commitment. On the other hand, other extensions require professional installation and may stay in place for weeks or months. Also, clip-in hair extensions are less likely to cause damage to your natural hair since they do not involve glue, heat, or chemicals during attachment.
What are the benefits of using Clip-In Hair Extensions?
- Clip-in hair extensions offer incredible versatility. You can clip them in for special occasions or daily use, allowing you to switch up your hairstyle whenever you like.
- Clip-in hair extensions are gentle on your natural hair. Unlike other methods that may strain or weaken your hair over time, clip-ins can be removed easily without causing damage.
- With clip-in hair extensions, you can customize your look to suit your preferences. You can choose the length, color, and texture that matches your desired style.
- Maintaining clip-in hair extensions is relatively simple. Regular care, such as gentle washing and styling, can keep them looking fabulous for a long time.
- Clip-in hair extensions are often more budget-friendly than other extensions, as you can reuse them multiple times without the need for professional reinstallation.
Choosing the Right Extensions for Your Hair Type
Selecting the perfect clip-in hair extensions depends on understanding your unique hair type and preferences. Here's a breakdown of how to choose the right extensions based on your hair type:
Straight Hair
When using clip-in hair extensions to your straight hair, the focus should be on achieving a natural blend. It's essential to select extensions that closely match the texture of your natural hair. Color harmony is also important; the extensions should mirror your natural hair color to avoid any noticeable discrepancies. If your hair features highlights or varying tones, look for extensions that offer a similar color mix.
Also, consider the length of the extensions – they should either match your current length for added volume or provide a gradual transition if you're aiming for increased length. In terms of volume and overall appearance, choose extensions that add the desired fullness without looking unnatural. Proper distribution of the extensions around your head is crucial for a balanced and natural look. High-quality extensions also offer styling flexibility, allowing you to alter your look for different occasions.
Wavy Hair
For individuals with wavy hair, selecting the appropriate clip-in hair extensions is key to achieving a natural look. The focus should be on finding clip-in hair extensions that closely match the natural wave pattern of your hair. Options like 'gentle wave' or 'body wave' extensions are ideal, as they blend seamlessly with the texture of wavy hair. Color matching is also important; the extensions should closely resemble your natural hair color, especially if your hair features highlights or lowlights, to ensure a natural appearance.
Beyond texture and color, the volume and density of the clip-in hair extensions should complement and not overpower your natural waves. Wavy clip-in hair extensions also can be used anytime; they can be straightened for a sleek look or curled for more defined waves, making them a flexible accessory for various occasions.
Curly Hair
Choosing the right clip-in hair extensions for curly hair is essential for a natural and cohesive look. The key is to select clip-in hair extensions that closely mimic your natural curl pattern, ensuring they blend seamlessly with your hair. Curly hair varies from loose waves to tight coils, so it's important to match the clip-in hair extensions to your specific type of curl, whether it's loose, medium, or tight. This attention to detail in matching the curl pattern is essential for maintaining a consistent and authentic appearance. Curly clip-in hair extensions offer the flexibility to add both, allowing you to experiment with different styles while ensuring the extensions complement your natural hair's shape and volume.
Thick Hair
For individuals with thick hair, selecting the appropriate clip-in hair extensions involves focusing on volume and durability. It's essential to choose clip-in hair extensions that match the natural volume and density of your thick hair to ensure a seamless blend. Hair extensions labeled as 'high density' or 'extra volume' are ideal as they complement the fullness of thick hair without looking out of place.
The strength of the clips is paramount. Opt for clip-in hair extensions with sturdy, high-quality clips that can securely handle the weight and volume of thick hair, ensuring they stay in place comfortably throughout the day. Layering the extensions can also help achieve a more natural, integrated look, distributing the added volume evenly and maintaining the natural movement of your hair.
When styling thick hair with extensions, both color matching and length considerations are key. Since thick hair can make color discrepancies more noticeable, it's important to select clip-in hair extensions that closely match or complement your natural hair color. If adding length, choose extensions that provide a gradual transition from your natural hair to avoid a stark contrast.
Fine Hair
For those with fine hair, choosing the right clip-in hair extensions is important to enhance hair volume without causing damage. Lightweight clip-in hair extensions are essential, as heavier ones can weigh down delicate strands, leading to discomfort and potential harm. It's important to select extensions specifically designed for fine hair, which are typically made with a lighter density to complement the natural texture without overwhelming it. Volume enhancement is a key goal, so look for clip-in hair extensions that add a noticeable yet natural-looking boost in volume.
When applying extensions to fine hair, strategic placement is vital to ensure a natural blend and to avoid visibility or discomfort. Matching the color and texture of the extensions to your natural hair is also critical, as fine hair can more easily reveal discrepancies. In terms of styling, gentle techniques should be used to avoid straining the natural hair, and tight hairstyles or high-heat settings should be avoided to prevent damage.
Preparation Before Application of Clip-In Hair Extensions
Clip-in hair extensions can be a fantastic way to instantly transform your hairstyle. However, to achieve a natural appearance, proper preparation is needed before applying clip-in hair extensions. In this guide, we'll walk you through the crucial steps to ensure your clip-ins blend seamlessly with your natural hair.
Gather Your Tools and Supplies
Before you start, gather the following items:
- Clip-in hair extensions
- Rat-tail comb for sectioning
- Hairbrush or wide-tooth comb
- Hair clips or bobby pins
- A mirror, preferably one you can easily adjust to see the back of your head
- A clean workspace with good lighting
Optional: hair ties, hairspray, or heat protectant spray (if you plan to style your extensions)
Step-by-Step Guide to Attaching Clip-In Extensions
Step 1: Gather Your Supplies
Before you begin, make sure you have all the necessary tools and supplies at hand such as clip-in hair extensions, rat-tail comb, hair clips, and other essential needs.
Step 2: Prepare Your Natural Hair
Start with clean, dry hair. If you've just washed your hair, it's a good idea to let it air dry or use a hair dryer on a low setting. This helps create a stable base for the extensions. Brush or comb your hair to remove tangles and knots, ensuring it's smooth and manageable.
If you have fine or slippery hair, consider lightly teasing the roots of the sections where you'll attach the clip-ins. This will provide a better grip for the clips.
Step 3: Section Your Hair
Use a rat-tail comb to create sections where you'll attach the clip-in extensions. To achieve a natural look, these sections should be approximately one inch apart. Begin by parting your hair horizontally, starting at the nape of your neck and working your way up.
If you plan to use multiple wefts, start with the bottom section and work your way up. This ensures even distribution of weight and prevents the extensions from appearing too bulky at the top.
Step 4: Clip-In Placement
Open the clips on the extensions. Ensure they are securely open but not overly tight.
Starting with the first section at the nape of your neck, attach the clip-in extensions from one side to the other, making sure they are evenly spaced.
Snap the clips shut close to your scalp, but avoid pulling too tight. The extensions should feel secure without causing discomfort.
Step 5: Blend and Style
After attaching the extensions, gently comb or brush your natural hair over the top to blend them seamlessly. Style your hair as desired, whether you prefer curling, straightening, or leaving it in its natural state.
If needed, use hairspray or a heat protectant spray to set your style and ensure the extensions stay in place.
Step 6: Final Check
Examine your hairstyle in the mirror from different angles to ensure the extensions are well-hidden, and the blend is natural. Make any necessary adjustments, such as tightening or loosening the clips, to achieve your desired look.
By following these step-by-step instructions, you can confidently attach your clip-in hair extensions for a stunning and effortless transformation. Proper attachment and blending are crucial for achieving a flawless finish, allowing you to enjoy the added beauty that clip-in hair extensions provide.
Blending and Styling Clip-In Hair Extensions After Application
Let’s think that you've successfully attached your clip-in hair extensions, and now it's time to take your hairstyle to the next level. Blending the extensions with your natural hair is one of the major needs for hairstyling. We'll now walk you through the process of blending and styling your clip-in hair extensions for a stunning, natural finish.
Combining Your Natural Hair with Clip-Ins
After attaching the clip-in hair extensions, use a hairbrush or wide-tooth comb to gently blend your natural hair with the extensions. Start at the roots and work your way down, ensuring that there are no visible gaps between your natural hair and the clip-ins. Pay special attention to the areas around your temples, sides, and the top of your head.
Creating Waves or Curls
If you want to add waves or curls, use a curling iron or a curling wand. Ensure that the clip-in hair extensions and your natural hair are properly heated to the same temperature to maintain uniformity. Divide your hair into small sections and curl or wave each section for a harmonious blend. You can alternate curling between your natural hair and the extensions.
Straightening Your Hair
For a sleek and straight style, use a flat iron to straighten both your natural hair and the clip-in extensions. Run the flat iron through the combined hair gently, ensuring that they are both straightened uniformly.
Adjusting the Length
If your clip-in hair extensions are longer than your natural hair, you can trim them to match your desired length. It's recommended to have a professional stylist do this to ensure an even and natural appearance.
Adding Volume
Clip-in hair extensions are excellent for adding volume to your hair. If you want to create a fuller look, tease the roots of your hair gently. Apply hairspray or texturizing spray for extra hold, and then backcomb or tease the roots. This will create a lifted appearance.
Final Touches
Once you've blended and styled your clip-in hair extensions, give your entire hairstyle a final check in the mirror. Look for any areas that need adjustment. Use a quality hairspray or hair serum to set your style and ensure that the extensions stay in place throughout the day or night.
Caring for Your Clip-In Hair Extensions
Clip-in hair extensions are amazing but like your natural hair, they require proper care to stay beautiful and last as long as possible. Here's a list of how to care for your clip-in hair extensions to keep them looking fabulous and maintain their longevity.
- Let’s keep them clean. Make sure your clip-in hair extensions are clean and free from any styling products before storing them. Excess product buildup can damage the hair.
- Invest in a designated container or bag for your extensions. Ideally, it should be cool, dry, and well-ventilated to prevent moisture and odors from affecting the hair.
- If you have the space, hanging your extensions can help maintain their shape and prevent tangling. You can use a hanger with clips or purchase a specialized extension hanger.
- Gently brush out any tangles or knots using a wide-tooth comb or a specialized extension brush before washing.
- If you plan to use heat styling tools, always apply a heat protectant spray to the extensions to prevent damage.
- Gently brush your clip-in hair extensions with a soft-bristle brush or a loop brush to remove tangles and prevent breakage.
- Avoid wearing your clip-in hair extensions for extended periods. Taking them out before bedtime can help prevent tangling and stress on the clips.
- Check the clips periodically to make sure they're secure. If any clips become loose, you can sew them back into place.
By following these care tips, you can enjoy your clip-in extensions for many years and maintain their beauty and quality. Proper maintenance not only extends their lifespan but also ensures that they continue to enhance your hairstyles for various occasions.
Well, we hope this comprehensive guide on how to properly attach your clip-in hair extensions has provided you with valuable insights and practical tips We all know that achieving the perfect look with clip-ins can be a game-changer, and by following these steps and detailed instructions, you'll be well-prepared to enjoy the beauty and versatility they bring to your hairstyle.
If you have any further questions, need additional guidance, or are still in search of clip-in hair extensions, feel free to reach out to Maneology Hair Extensions. We're here to assist and cater to your unique preferences and style needs.


